Most homeowners think patio design starts with picking a material or a color. It doesn’t. It starts with a clear picture of how you actually want to use the space, and how that space needs to function in 30A’s specific coastal climate.
Get the planning right, and the rest of the process falls into place. Skip it, and you’ll find yourself making expensive corrections later, whether that’s poor drainage, a surface that’s too hot to use barefoot in July, or a layout that looks great in photos but feels awkward in person.
This guide walks you through the full design process, from defining your space to choosing materials, patterns, and features, so you can approach your patio project with a clear plan rather than a guess. And if you’d like a local expert’s input at any point, a paving contractors 30A specialist can review your property and help you avoid the most common planning mistakes before work begins.
Step 1: Define How You’ll Use the Space
Before anything else, be honest about how the patio will actually get used. This single decision shapes every choice that follows, from size and shape to layout and features.
Ask yourself:
- Will this be a dining area, a lounge space, or both?
- Do you want a fire pit or an outdoor fireplace as a focal point?
- Are you planning an outdoor kitchen nearby?
- Will kids or pets use this space regularly?
- How many people do you typically entertain?
A patio designed for quiet morning coffee looks very different from one built for large gatherings. Getting clear on your primary use case keeps the design focused and prevents you from either over-building or under-building.
Step 2: Choose the Right Location
The best patio location isn’t always directly behind the back door. It’s wherever the combination of sun, shade, views, and access works best for your specific property.
On 30A, a few location factors deserve particular attention:
Sun exposure. Florida’s afternoon sun is intense from April through October. A patio that sits in full afternoon sun with no shade structure can be genuinely uncomfortable for most of the year. Orient your space to capture morning light while getting natural shade in the afternoon, or plan for a pergola or shade sail from the start.
Drainage. Sandy coastal soils drain reasonably well, but your patio still needs to slope slightly away from your home’s foundation. A 1 to 2 percent slope is standard. This is handled during base preparation, but it’s easier to plan for upfront than to correct after installation.
Privacy and views. Think about sightlines from neighboring properties and the street. A well-placed patio feels like an outdoor room, not an exposed platform. Retaining walls, planters, or landscaping can add definition without making the space feel closed off. If your property has grade changes, retaining wall pavers can create natural level separations that define your patio while managing the slope structurally.
Proximity to indoor spaces. The most-used patios connect directly to the kitchen or main living area. Every extra step between the house and the patio reduces how often the space gets used. Keep it convenient.
Step 3: Determine the Right Size and Shape
A patio that’s too small feels cramped. One that’s too large feels empty and costs more than it needs to. Getting the size right requires thinking in terms of furniture and activity zones, not just square footage.
A rough guide for common patio uses:
| Use | Recommended Minimum Size |
| Bistro table for 2 | 8 x 10 feet |
| Dining table for 6–8 | 12 x 16 feet |
| Lounge seating group | 10 x 12 feet |
| Combined dining and lounge | 20 x 20 feet or larger |
| Fire pit with seating circle | 16 x 16 feet minimum |
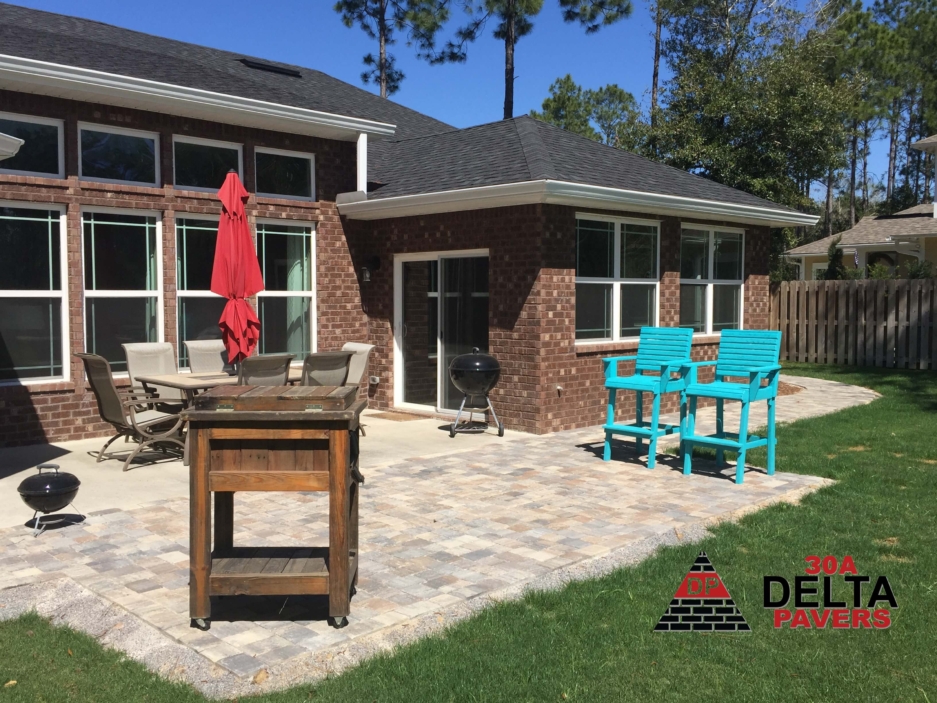
If you’re planning multiple zones, like a dining area and a separate lounge space, it helps to sketch the layout with furniture dimensions included before finalizing the size. A different paver pattern or a small step between zones can define each area without physical barriers, which keeps larger patios from feeling like one undivided slab.
For irregular or naturally shaped yards, organic curves often work better than rigid rectangles. Curved edges soften the geometry and blend more naturally into coastal landscaping.
Step 4: Choose Your Paver Material
Material choice affects how your patio looks, how it performs in Florida’s climate, and what it costs. Along 30A, the most common options each have distinct strengths.
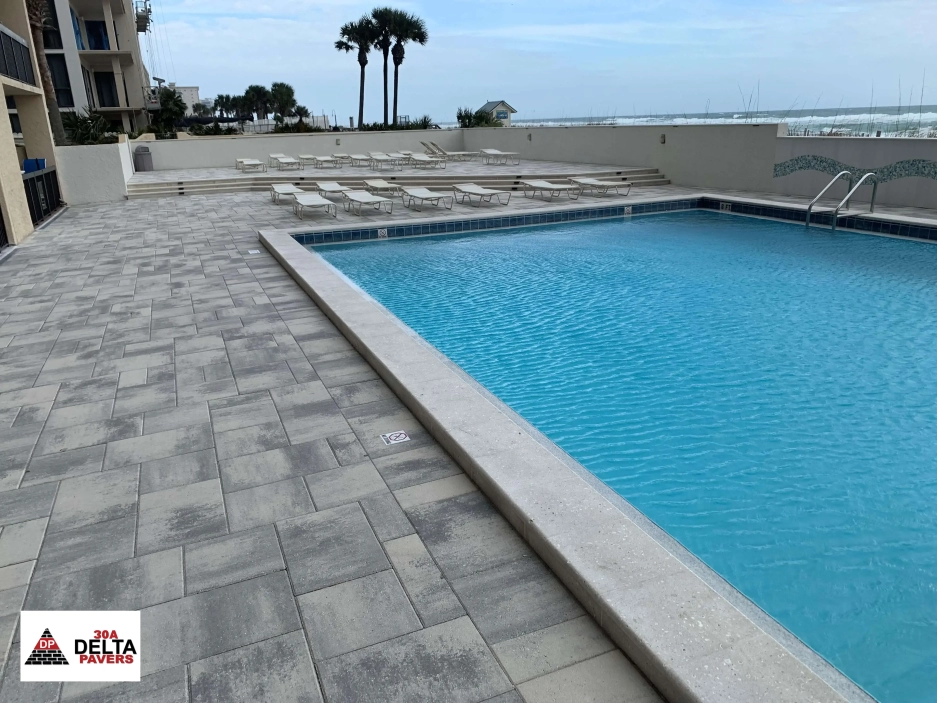
Travertine is the top choice for luxury coastal patios. Its porous surface stays noticeably cooler underfoot than concrete in direct sun, which matters enormously in Florida. It’s naturally slip-resistant, comes in warm ivory and cream tones that suit coastal architecture, and holds up well against salt air. It’s also the go-to material for patios that connect to pool deck areas, since the same surface can flow seamlessly from patio to poolside. The main trade-off is cost, which is higher than that of concrete pavers.
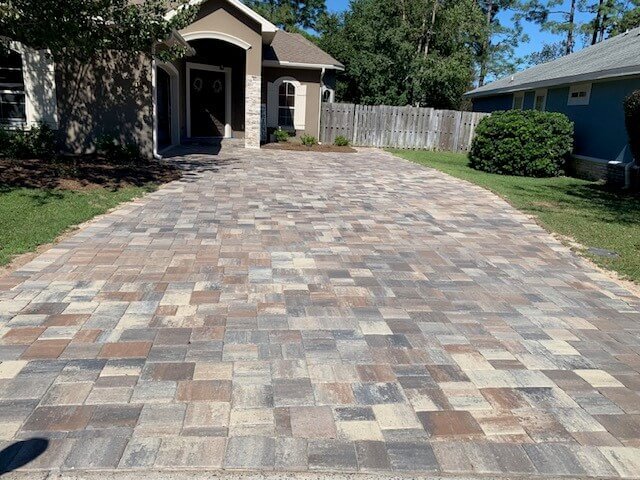
Concrete pavers offer the widest range of colors, shapes, and textures at a more accessible price point. They’re durable, easy to source locally, and available in formats that can closely mimic the appearance of natural stone. For homeowners who want design flexibility without the premium of travertine, concrete pavers are the most practical all-around option.
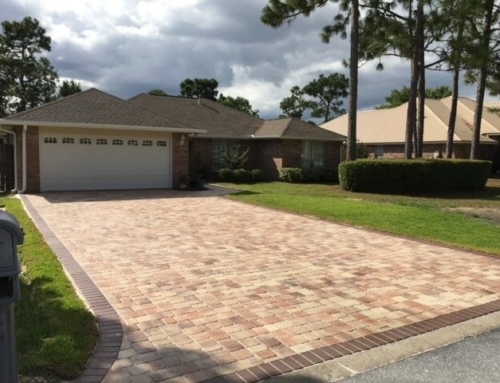
Brick pavers bring warm, earthy tones and a timeless character that suits Old Florida and cottage-style homes well. They’re extremely durable and hold their color naturally since the hue runs through the entire unit rather than just the surface. The color range is narrower than concrete, typically limited to reds, browns, and terracottas, but within coastal Florida’s color palette, that’s often exactly what a property needs.
Natural limestone falls between travertine and concrete in both price and performance. It offers good heat resistance, a soft, natural appearance, and a look that pairs well with lush coastal landscaping. It does require sealing to protect against staining in humid environments.
If you’re still weighing options, our detailed comparison of travertine vs. concrete pavers for hot climates covers how each material behaves specifically in Florida’s coastal conditions.
Step 5: Select Your Pattern
Pattern affects both how the patio looks and how structurally stable it stays over time. For a full breakdown of each option, our guide to the best paver patterns for patios covers this in detail. Here’s a quick decision guide:
- Herringbone: Best all-around choice for strength and versatility. Handles high traffic well and suits most home styles.
- Running bond: Clean and modern. Works best on smaller patios where simplicity is the goal.
- Basketweave: Traditional character, great for cottage or Mediterranean-style properties.
- French pattern: High-end, handcrafted look. Most commonly used with travertine for luxury outdoor spaces.
- Random ashlar: Organic and natural-looking. Works especially well with limestone or flagstone on properties with lush landscaping.
A contrasting border along the patio perimeter is always worth considering. Even a single row of pavers in a slightly different tone frames the space cleanly and gives the whole surface a finished, professional look.
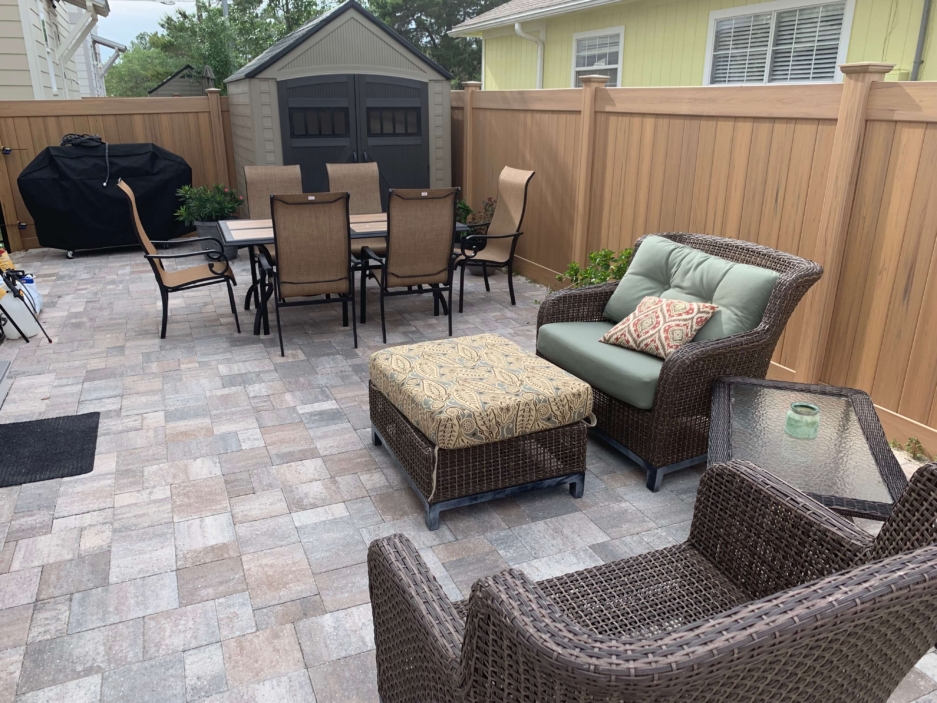
Step 6: Plan Your Features
A patio surface is the foundation, but the features you add are what make it genuinely livable. Along 30A, outdoor living is a year-round activity, so it pays to plan features as part of the original design rather than adding them as afterthoughts.
Fire pit or outdoor fireplace. A fire feature creates a natural gathering point and extends evening use year-round. Circular patio layouts or dedicated inset areas work particularly well for fire pits. Fireplace and fire pit pavers should be heat-rated materials installed with proper clearances, so this isn’t a detail to figure out after the patio is already down.
Outdoor kitchen. If cooking and entertaining outdoors is a priority, building in a dedicated kitchen zone from the start saves significant rework later. The patio surface beneath an outdoor kitchen needs to handle the load of countertops, appliances, and foot traffic, which affects both base preparation and paver selection.
Steps and transitions. If your patio connects to different levels of your yard or home, outdoor steps and stair pavers designed to match the patio surface create seamless transitions. Mismatched materials at level changes are one of the most common signs of a patio that wasn’t fully planned from the start.
Lighting. Low-voltage LED lighting along patio edges, steps, and borders dramatically improves nighttime usability and safety. It’s far easier to run conduit during installation than to retrofit it later.
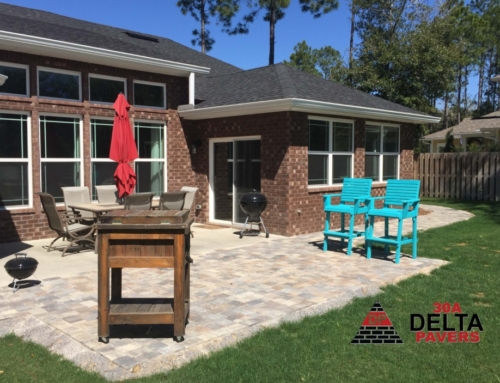
Step 7: Think About the Bigger Picture
The best patio designs don’t feel like isolated additions. They feel like a natural extension of the home and the surrounding property.
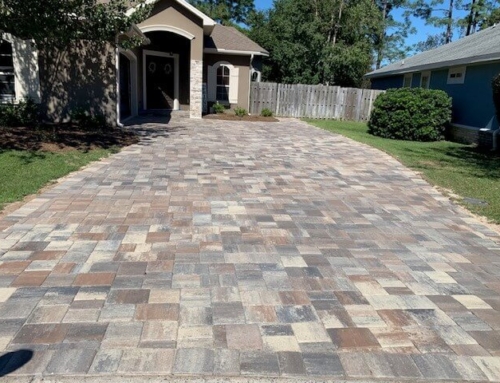
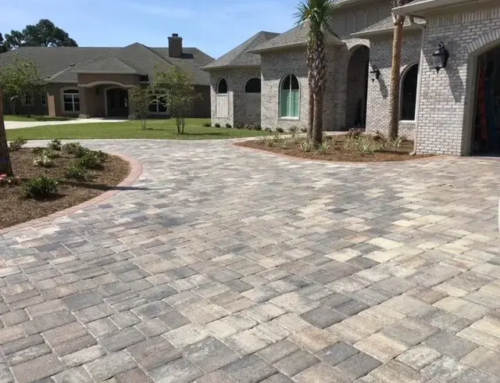
Carrying the same paver material from your patio to adjacent walkways, a driveway paver surface, or a pool deck creates a cohesive outdoor environment that looks professionally designed rather than assembled piece by piece. Color continuity and consistent material choices across surfaces are what separate outdoor spaces that look deliberate from ones that look accumulated.
If you’re starting from scratch with an existing concrete surface, our overview of the benefits of replacing concrete with pavers explains why pavers consistently outperform poured slabs in Florida’s coastal environment over the long term.
Frequently Asked Questions
How much does a paver patio cost in 30A, Florida?
Most patio paver projects along 30A range from $10 to $20 per square foot, depending on material, pattern complexity, and site preparation requirements. Travertine and natural stone installations typically fall at the higher end of that range.
Do I need a permit for a patio in Walton County?
Permit requirements vary by property location and patio size. For details specific to your address, check with Walton County Planning and Development before starting any project.
How long does a paver patio last in Florida?
With proper base preparation and regular sealing, paver patios typically last 25 to 40 years or more. Individual pavers can be replaced if damaged without disturbing the rest of the surface, which is a significant advantage over poured concrete.
Can I add a patio to an existing landscape without major disruption?
Yes. Professional installers work around existing landscaping, irrigation lines, and drainage features. A site assessment before design is finalized helps identify any constraints that need to be planned around.
How soon can a new patio be used after installation?
Most paver patios are ready for light foot traffic within 24 hours of installation. It’s best to wait a few days before placing heavy furniture and a few weeks before the first sealing application.
Ready to Get Started?
A well-designed paver patio adds real livable value to any 30A property, but getting the design right from the start is what separates a patio that gets used from one that just looks good in photos. If you’d like a local expert to walk through your property and help you plan a space that actually works for how you live, the team at 30A Delta Pavers is ready to help. Contact us to speak with a specialist and get your project started on the right foot.
