
A paver project feels great once it is finished. The timeline is usually the stressful part. Homeowners want to know how many days crews will be on site and what can realistically slow things down along 30A.
This guide breaks down a typical paver installation timeline and the decisions that help keep a project moving without surprises.
How Long Does Paver Installation Usually Take?
Most residential paver projects take days, not weeks. In general, a standard installation falls within a 2 to 7 day on-site window, depending on size, access, and complexity.
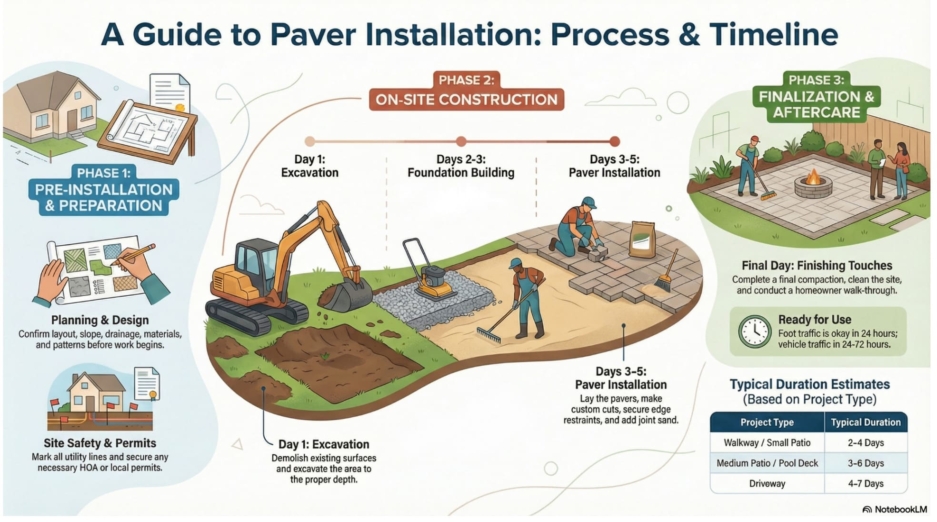
Timeline Table for Planning
This table assumes materials and layout decisions are finalized before work begins.
| Area | Typical on-site window | What often adds time |
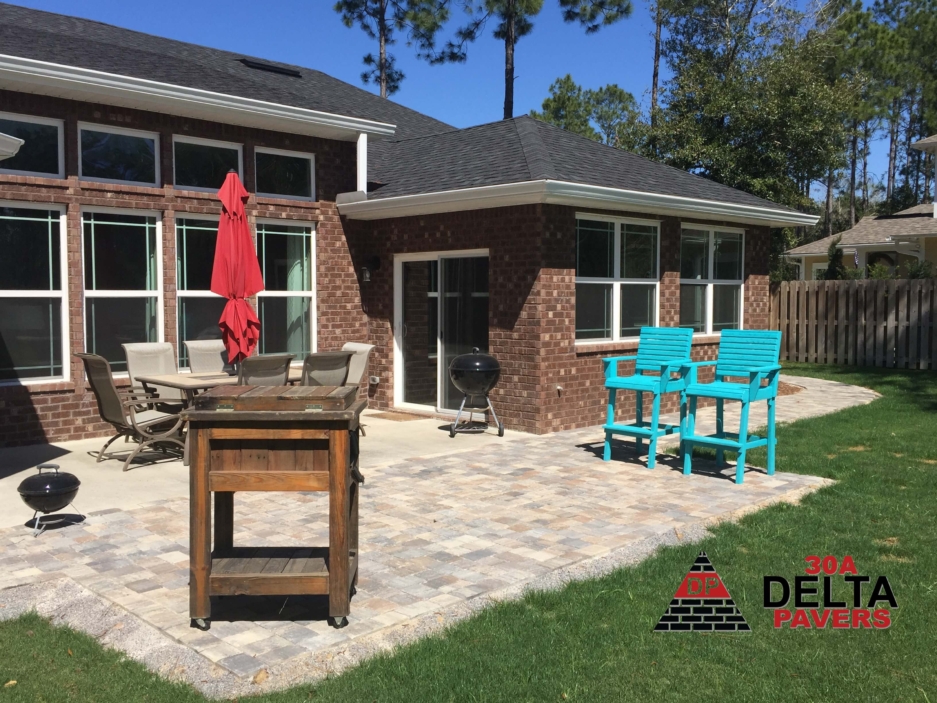
| Walkway or small patio | 2 to 4 days | Tight access, heavy cutting, and tree roots |
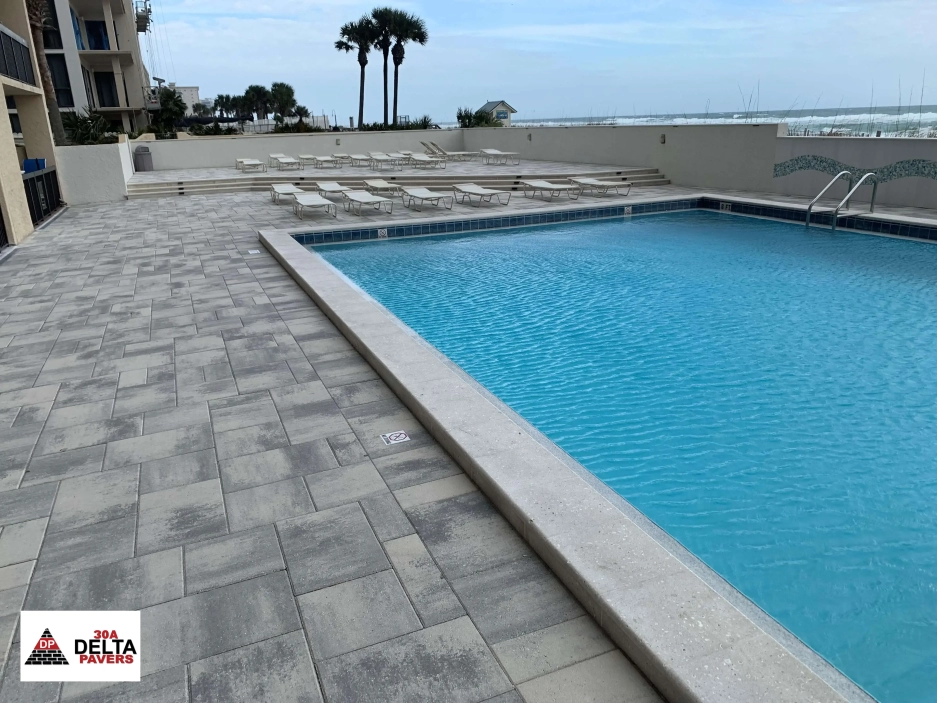
| Medium patio or pool deck | 3 to 6 days | Drainage work, pattern changes, rain |
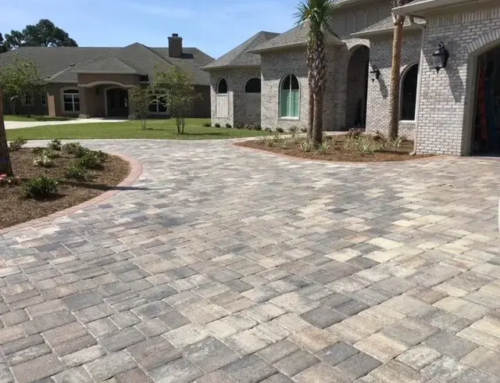
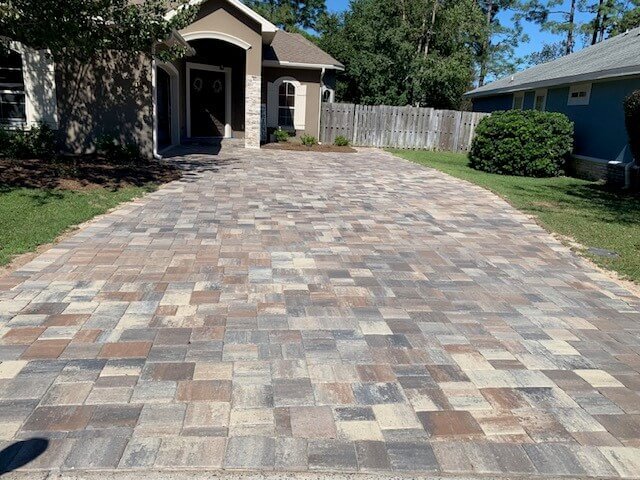
| Driveway | 4 to 7 days | Deeper base, right-of-way rules, inspections |
What Should Happen Before Day One?
Before equipment arrives, a paving contractor on 30A should confirm slope, drainage direction, and how new pavers tie into existing concrete, coping, or steps.
Utility marking should also be scheduled in advance. Florida guidance recommends contacting 811 or Sunshine811.com at least two full business days before digging so underground utilities can be clearly marked.
Step 1: Layout and Measurements
Once work starts, the layout should already be finalized. This prevents delays and rework during excavation. Typical decisions include:
-
Final footprint, elevations, and pattern direction
-
Border and edge details
-
Drainage plan and spoil placement
Step 2: Permits, HOAs, and Right-of-Way Rules
Approvals can add time, especially in HOA communities. Walton County states that a permit is required when work involves inspections by the Building Department using technical codes, with limited exemptions depending on the scope.
If the Driveway Touches the County Side:
Driveway projects may trigger a driveway connection review. Walton County policy outlines an application, Public Works review, and site visit before approval or conditional approval. If brick pavers or similar finishes extend into the county right-of-way, a signed hold harmless agreement and recorded documents are typically required.
Step 3: Demo, Excavation, and Rough Grading
Existing materials are removed, followed by excavation to the planned depth. Industry standards for interlocking concrete pavement emphasize proper layout, excavation, and compaction of the soil subgrade before any base material is installed.
Step 4: Base Work and Compaction
Base preparation is the most important factor in long-term performance. ICPI guidance explains that base thickness depends on traffic, soil conditions, drainage, and moisture levels. Common minimums include:
-
4 inches of compacted base for patios over well-drained soils
-
At least 6 inches of compacted base for residential driveways over well-drained soils
Proper compaction of both the subgrade and base layers is critical to prevent settling.
Step 5: Bedding Sand, Laying Pavers, and Cuts
Once the base is graded and compacted, the bedding layer is installed, and pavers are set. Manufacturers such as Belgard note that bedding sand is typically about 1 inch thick and spread evenly across the base before pavers are placed and cut to fit.
Step 6: Edge Restraints, Joint Sand, and Final Compaction
Edge restraints lock the field in place, and joint sand fills the gaps between pavers. ICPI outlines a sequence of installing edge restraints, compacting with a plate compactor, sweeping joint sand, and compacting again until joints are full. Typical joint spacing ranges from 1/16 inch to 3/16 inch.
Step 7: First Week Use and Optional Sealing
Light foot traffic is often allowed quickly, while vehicle traffic may require a short waiting period. Many installation guides recommend waiting 24 to 72 hours before driving on new pavers, depending on vehicle weight and site conditions.
What Can Slow a 30A Paver Job?
Most delays fall into a few predictable categories:
-
Rain or saturated ground that slows grading and compaction
-
Special order materials with longer lead times
-
Late layout changes, such as added drains or borders
-
Tight access for pallets and equipment
-
Driveway connection reviews involving the county right-of-way
Homeowner Checklist to Keep Things Moving
A little preparation can save several days:
-
Approve layout, pattern, borders, and drain locations early
-
Confirm access points and staging areas
-
Mark sprinklers, drains, and low-voltage lines
-
Confirm haul-off plans and dumpster placement
-
Ask early about right-of-way documents if the driveway ties into public space
For digging safety, Sunshine 811 is the best place to start. For installation standards, ICPI technical resources are helpful during planning.
FAQ
How soon can the patio be used?
Most guides suggest waiting 24 to 72 hours before vehicle traffic, depending on conditions.
Do pavers need a permit in Walton County?
Sometimes. A permit is required when the Building Department must perform inspections using technical codes, with limited exemptions.
What if the driveway apron reaches the county right-of-way?
This can trigger a driveway connection permit process that involves an application, review, and a site visit.
How deep is the base for patios versus driveways?
ICPI commonly cites 4 inches of compacted base for patios and at least 6 inches for residential driveways over well-drained soils.
Do utility lines need to be marked?
Yes. Florida guidance recommends contacting 811 or Sunshine811.com at least two business days before digging.
Plan Ahead, and the Timeline Stays Predictable
Early planning is the key to a smooth paver installation. When approvals, materials, access, and drainage are decided upfront, most projects stay on schedule.
Weather and right-of-way rules along 30A can cause delays, but a clear scope and realistic start date help minimize surprises. Flag driveway connections and access challenges early to prevent stalls.
Contact 30A Delta Pavers for a timeline walk-through and identify potential slowdowns before work begins.
